Build a lighthouse
What's it all about?
We haven’t got time to build a real lighthouse, but given one hour and some simple materials, we can build a model one. However, this needs team work and vision, as the winning lighthouse will not only be tall, but it will have a working light and it will have an elegant design.
Are you ready for the challenge?
Student notes
There are two parts to the lighthouse activity:
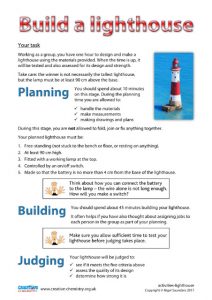
Working as a group, you have one hour to design and make a lighthouse using the materials provided. When the time is up, your lighthouse will be tested and also assessed for its design and strength.
Take care: the winner is not necessarily the tallest lighthouse, but the lamp must be at least 90 cm above the base.
You will need to make a complete circuit including battery, switch, lamp and conducting wires. Remember that aluminium, like all metals, is a good conductor of electricity.
At least three different designs of switch are possible using the equipment provided.
You are not allowed to fold, join or fix anything together at this stage.
Your planned lighthouse must be:
- free-standing (not stuck to the bench or floor, or resting on anything)
- at least 90 cm high
- fitted with a working lamp at the top
- controlled by an on/off switch
- made so that the battery is no more than 4 cm from the base of the lighthouse.

Teacher Guide
Activity notes
There is ample paper and sticky tape, so there are only two main problems:
- making a tall enough tower that will not fall over
- making a circuit from the battery at the bottom to the bulb at the top.
The best designs seem to resemble a tripod with legs of rolled paper (these work better if connected together near the base to stop them spreading). Students usually quickly tumble to the idea of using the foil as one of the conductors in the circuit, and at least three designs of switches can be made from the equipment provided.
![]() Health and Safety
Health and Safety
When considering carrying out a practical activity with a class, you must check your local health and safety rules. Make an appropriate risk assessment and try the activity yourself first.
Technician notes
Per group of students:
- 12 × sheets of A4-sized paper
- 1 × insulated electrical wire, approximately 1 m long
- 1 × strip of aluminium cooking foil, just over 1 m long
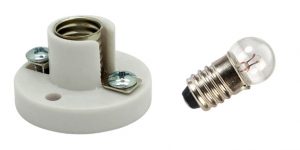
- 1 × MES lamp with batten lamp holder
- 1 × battery
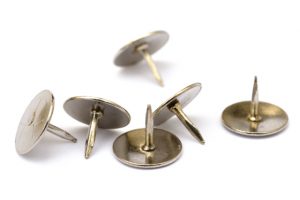
- 2 × metal drawing pins
- 1 × clothes peg
- 1 × roll of sticky tape
- 1 × one-metre rule
- 1 × 30-centimetre rule
- 1 × pencil
- 1 × pair of scissors
- 1 × small electrical screwdriver (suitable for the screws in the lamp holder)
- assorted elastic bands


